
Library > Install & Assemble
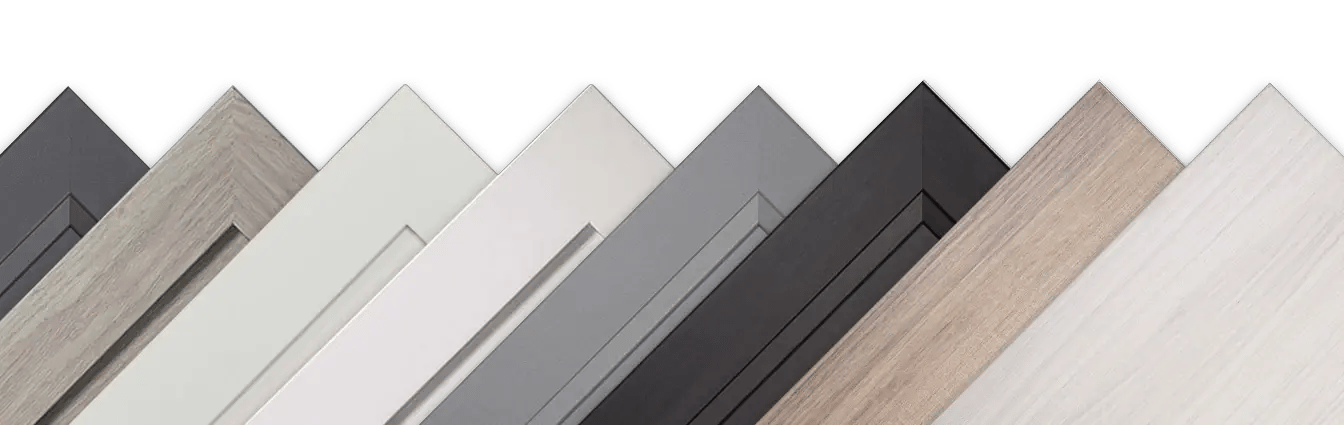
Installation is easy. Every Qwikkit kit arrives labeled and ready to hang, with the doors, fronts, hinges, pulls, paint, screws, and locator jigs for one home in a few cartons. Work through the steps below in order. The whole Qwikkit process is built around labeled parts and a short tool list.
Have the following items available for use.
Materials required
- Hammer
- Electric drill or screw gun with a #2 Phillips head bit
- 1/16" and 3/16" drill bits
- #2 Phillips screwdriver to adjust hinges
Suggested
- Double-sided mounting tape
- Pilot Hole Locator
- Door Pull Locator
- Wood glue, if repairing drawer boxes
- Damp cloth and soapy water
- Paper towels
Prep your old cabinets
Watch the time lapse installation video
A.Remove old cabinet doors and false fronts (like drawers but don't open).
B.Remove drawer boxes (drawer fronts included). Detach drawer front from box.
Be sure to keep track of where each drawer box is located for install.
Get ready to paint
A.Fill holes in the front and/or side of cabinets with wood filler.
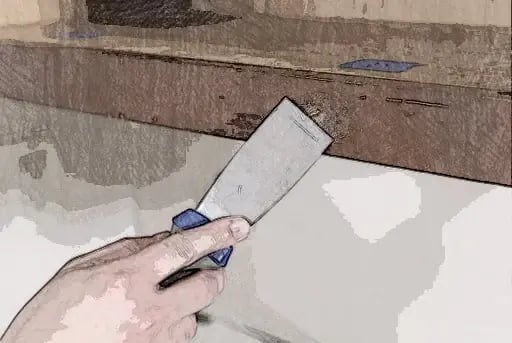
B.Sand all areas to be painted. Old surface must be clean and dull, not shiny, for best adhesion.
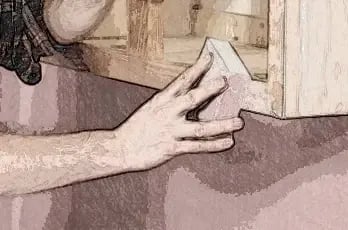
Paint
A.Your order arrives packaged and labeled by carton. Paint ordered is in carton #1.
B.Paint outside of old cabinets. You can brush, spray, or roll them, whatever you're most comfortable with. Allow last coat to completely dry before installing doors and fronts.
We recommend at least 24 hours for the paint to dry.
Install the doors
A.Place the doors on a clean, hard surface. Gently tap hinges into doors with a hammer until flush with the door surface.
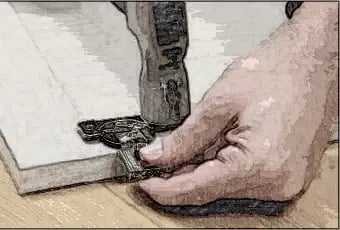
Inserting hinges on a soft surface like carpet can damage doors.
Watch the training video for inserting hinges
Framed cabinets, follow steps B through D. Frameless cabinets, skip to steps E through J. Not sure which you have? The Framed vs Frameless guide shows you how to tell.
Framed cabinets
Watch the training video for framed cabinets
B.Drill the top hinge pilot holes for hinge screws using "Framed Cabinet Pilot Hole Locator". If applicable, start at wall to ensure alignment of all cabinet doors.
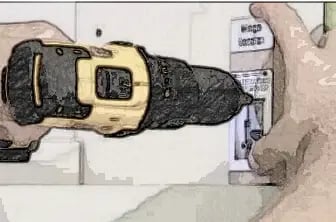
C.Secure top hinge first using screws from bag that says "Screw Hinges to Cabinet". When door is properly positioned, screw lower hinge into place. Apply rubber bumpers to corners of doors, opposite of hinges.
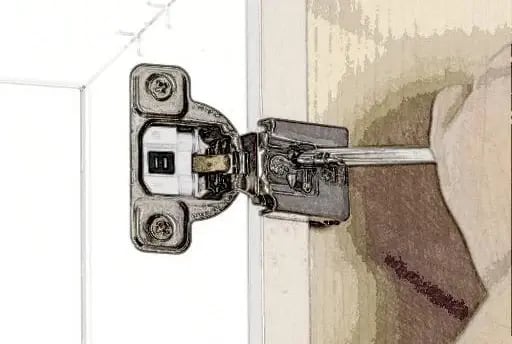
D.Adjust hinges to align doors making sure they close flush against cabinet. Adjustments move doors in and out and/or right and left. For up and down adjustment, loosen hinge on cabinet and slide hinge up or down.
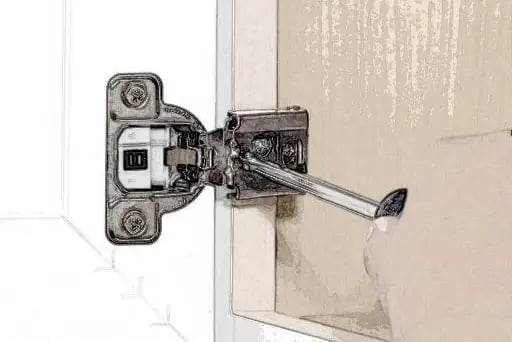
Framed cabinets, skip to step J.
Frameless cabinets
Watch the training video for frameless cabinets
E.Drill the top hinge pilot holes for hinge plate screws using "Frameless Cabinet Pilot Hole Locator". If applicable, start at a wall to ensure proper cabinet alignment.
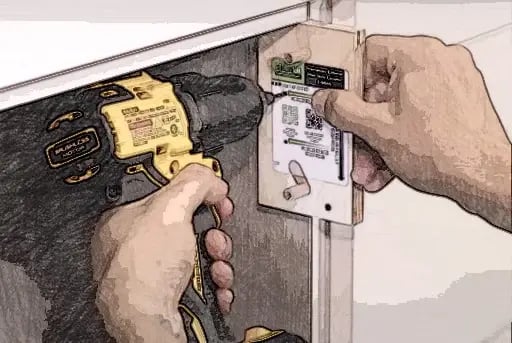
F.Secure top hinge plate first using screws labeled "Front Screws For Frameless Hinge Plates". Attach bottom plates to hinges on door.
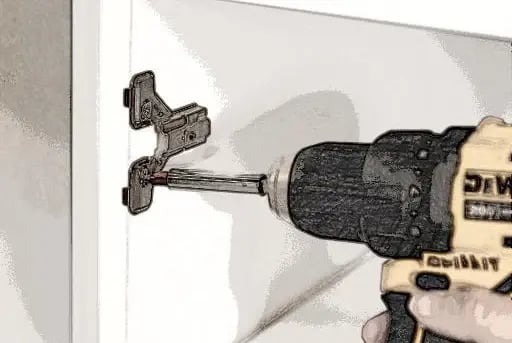
G.Clip top hinge to top hinge plate. When door is properly positioned, screw lower hinge plate into place. Apply rubber bumpers to corners of doors, opposite of hinges.
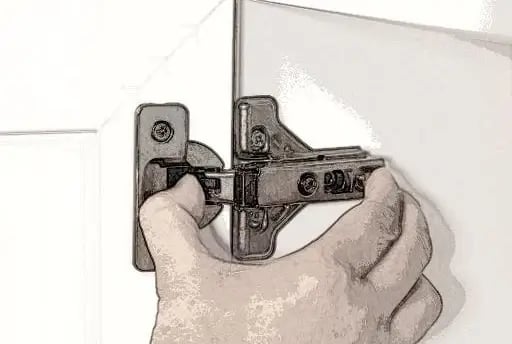
H.Adjust hinges to align doors making sure they close flush against cabinet. Adjustments move doors in and out and/or right and left. For up and down adjustment, loosen hinge on cabinet and slide hinge up or down.
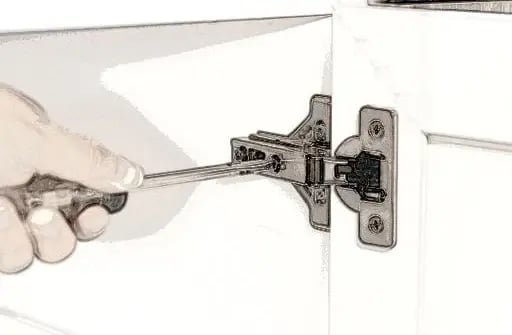
I.Find bag labeled "Screws for Back Hole of Frameless Hinge Plates". Screws are required for long-term strength of hinges. Without these, doors may come loose over time. Insert one at back of plate.
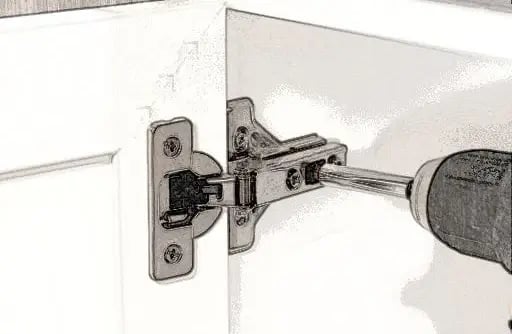
Do not skip step I. The front screws position the plate. The back screws are what hold it for the life of the door.
J.Install any tilt-outs or hamper fronts.
Install the false fronts
Watch the training video for false fronts
A.Drill false front pilot holes using "Framed or Frameless Cabinet Pilot Hole Locator" for false front posts.
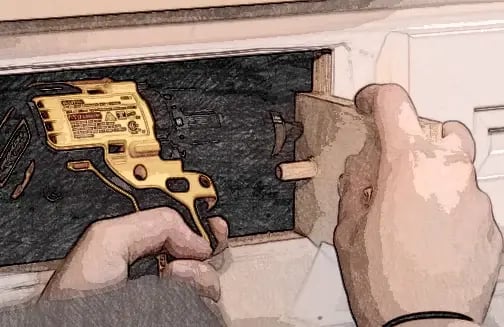
B.Use Phillips screwdriver to secure post using larger, #8x1" screw supplied. A manual screwdriver is recommended for this step.
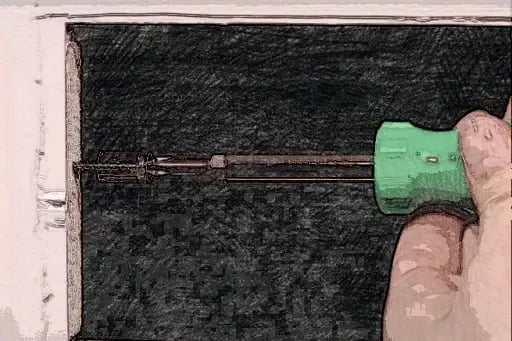
C.Apply double-sided tape to flat side of both false front clips and slide onto false front posts. Put bumpers behind four corners of false fronts.
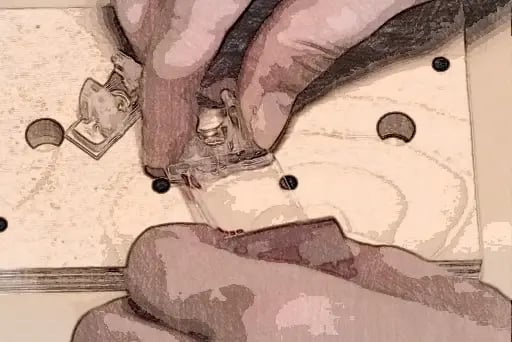
D.Align and firmly press false front against false front clips. Remove false front by pulling straight off cabinet. Clips should remain on the front. Secure clips to false front using #6x5/8" screw supplied.
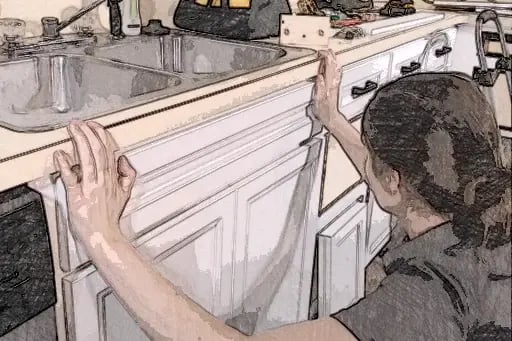
E.Clip false front back in place.
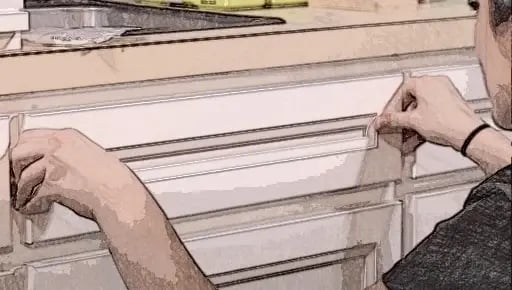
Install the drawer fronts
Watch the training video for drawer fronts
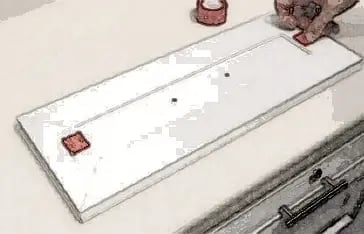
A.Use 3/16" bit to drill holes in drawer box to screw box to drawer front. Make sure the holes are positioned to screw into the thickest part of the drawer front, not the center panel.
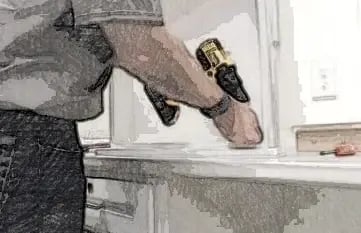
B.Apply mounting tape to back of drawer front, remove backer.
C.Insert drawer box in cabinet, without front attached.
D.Align drawer front with surrounding doors and drawers. Press drawer box firmly against front. Remove drawer from cabinet. The mounting tape secures the drawer front temporarily. Screw front to drawer box with washer-head screws supplied.
E.Reinsert drawer box into cabinet.
Install pulls
Watch the training video for pulls
A.Doors. Use 3/16" drill bit and pull locator supplied. Place locator tightly over corner of door and drill through locator and front of door. Watch your hand placement.
B.Drawer fronts. Use 3/16" drill bit to drill through drawer box at pilot holes on drawer front. Install hardware using 1-1/4" screws supplied.
Ordering more hardware later? Browse the full range of pulls and knobs, including the finishes available in each family.
Final steps
Clean up, you're done. Keep the touch-up marker from the kit with your maintenance supplies. It handles the small scratches that come with any install, and you can reorder markers and other refacing accessories any time.
Frequently Asked Questions
How do I know if my cabinets are framed or frameless?
Framed cabinets have a wooden face frame around the front of the box, and the hinges screw into that frame. Frameless cabinets have no face frame, so the hinge plates mount to the inside wall of the box. The Framed vs Frameless guide shows both side by side.
How long does the paint need to dry before I hang the doors?
Allow at least 24 hours. The last coat has to be completely dry before doors and fronts go on, or the finish can mark where parts touch the cabinet.
My doors do not line up. How do I fix them?
Every Qwikkit hinge is 6-way adjustable. The hinge screws move the door in and out and right to left. For up and down, loosen the hinge on the cabinet and slide it up or down, then retighten. The Hinge Adjustment Guide walks through each direction.
Do these instructions cover both DuraBuild and DuraFuse kits?
Yes. DuraBuild™ and DuraFuse™ use the same hinges, pulls, and mounting hardware, so the install is the same. The difference is the door itself, not how it hangs.
What are the back hole screws for on frameless hinge plates?
They hold the hinge plate to the cabinet over the long term. The front screws position the plate. The back screws give it strength. Skip them and the doors can work loose over time.
Questions?
Our customer service team can help with install questions. Call or email and we will work it out with you.
Or email customerservice@qwikkit.com.